There are several distinct stages in the life cycle of a cannabis plant. So what are the stages of growing cannabis? This quick guide will run you through the essentials.
Stage 1 – Germination
This is where it all begins – where your tiny seed will swell and burst in the presence of warmth and water, until its hard, tough casing finally cracks.
During this step to growing cannabis, your seedlings need only water and warmth to grow.
They don’t even need light, and may actually suffer stress if exposed to too much light.
So it’s perfectly fine to keep them in a dark cupboard or similar for the first couple of days – just make sure that they are kept warm and sufficiently moist!
Most growers germinate seeds in small trays, or simply on a scrap of cotton wool well-soaked in water.
What Happens During Germination…
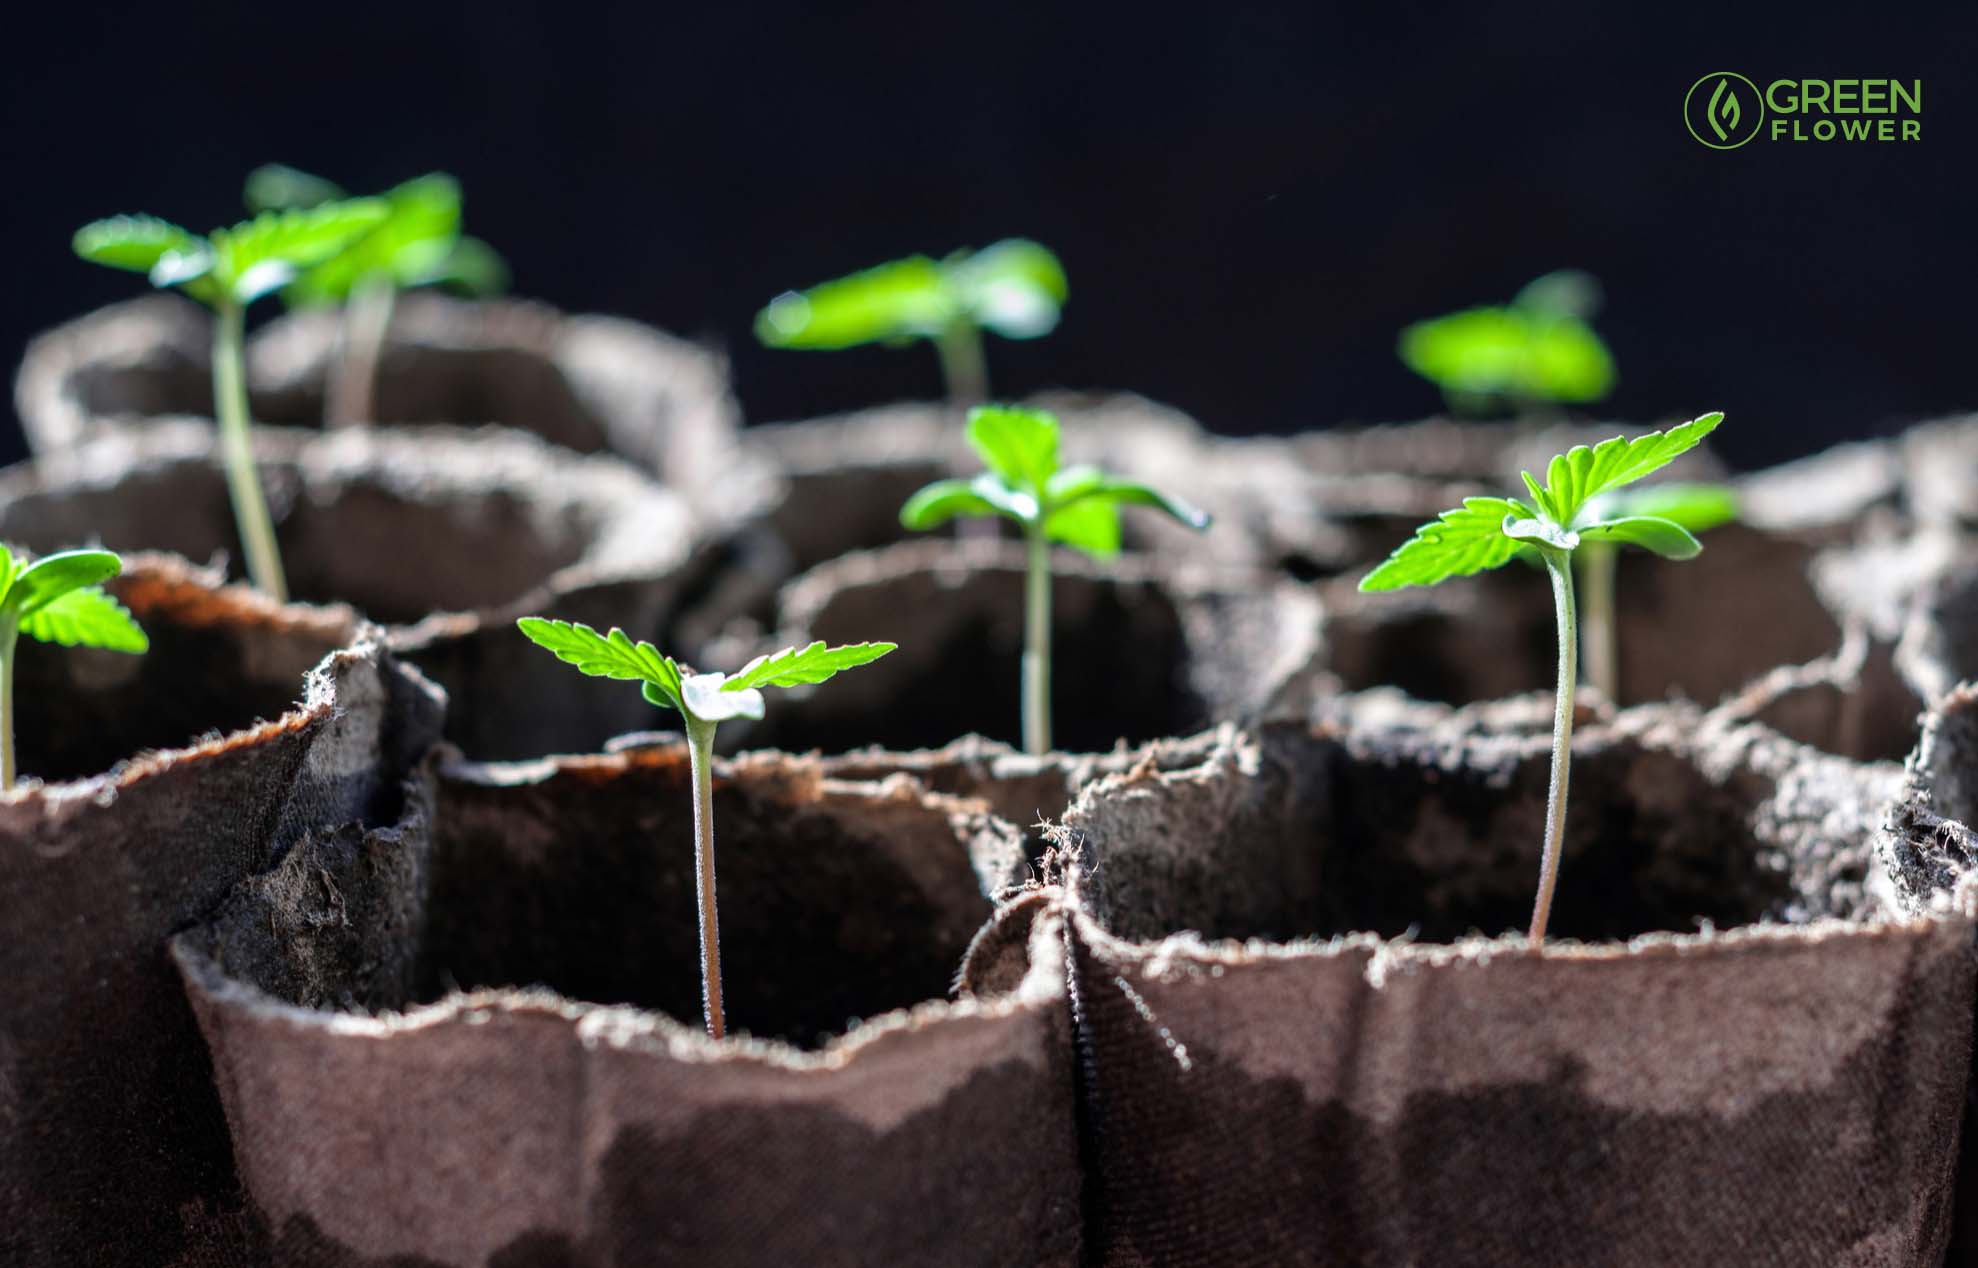
- First, a tiny root emerges, known as the radicle. This is the principal taproot from which all other roots branch out (except for some “adventitious” roots that may grow later, straight from the stem).
- After the radicle has established itself, the next step is the growth of the stem and the first leaves – the cotyledons. These two “proto-leaves” are rounded, soft and smooth – very different from the serrated “true” leaves that will follow next.
- By the time the cotyledons have emerged, you should get your seedlings transplanted into your soil (or whatever your chosen medium is) as soon as possible.
- Once they’re transplanted, you’ll need to give them light so that they can move on to the next stage of cannabis plant growth – vegetative growth.
Stage 1(b) – Rooting
When you’re growing from clones, the “first step” in the life cycle of a cloned plant is actually the rooting stage!
To make clones, cuttings are taken from a mother plant, and quickly placed in a warm, well-lit, and moist environment.
Moisture is essential, as the plant no longer has roots and needs to keep its tissues hydrated.
When subjected to this procedure, the cuttings respond to their change in environment, and express rooting hormones in stem tissues in order to encourage the growth of new roots.
Typically, growers use a propagator (often not much more than a plastic box with a lid), and sometimes a heating pad to make clones.
The propagator helps hold moisture, and the heating pad obviously helps to maintain temperature.
Just remember to open the lid of the propagator at least once a day to allow excess moisture to escape.
What Conditions Are Needed For Rooting?
- Usually, rooting of clones takes 7-10 days.
- Relative humidity levels of 80-90%.
- Temperatures of 75-85 F.
- 20+ hours of light per day.
- Fluorescent or LED lights are great for rooting.
Any hotter or more humid than this, and your clones may well succumb to mold before they ever get a chance to root!
By now your clones should be rooted and ready to transplant, and will behave pretty much like any other cannabis plant in later stages of growth.
However, there are a few differences.
Clones often aren’t quite as vigorous as their seed-grown counterparts, partly as they don’t have a radicle (taproot) and instead have a network of much smaller adventitious roots.
Stage 2 – Vegetative
At this stage of growing cannabis, your plants should have established the beginnings of a root system, and will really start to put a lot of energy into growing stems, branches and leaves.
The more time you are able to keep your plants in this stage, the bigger they will get – and if you veg for, say, 2-3 months, you could end up with absolute monsters at the end.
Many growers, especially indoors, limit the length of time they keep plants in veg, so that the eventual size of the plant is limited. This strategy also ensures that the overall life cycle of a plant is reduced.
Key Points About The Vegetative Stage
- Generally, cannabis plants grow vegetatively when they are exposed to 18 hours of light per day.
- Indoor growers usually veg for around 1-3 weeks before switching to flower.
- Young plants should be positioned close to the light to avoid stretching.
- Lights used at this stage of cannabis growth should be a little more blue than those used in flower.
- Lights with too much of a red/far-red spectrum may encourage stretching.
- Outdoor growers have less control over day length, but can practice light-deprivation techniques to kick off flowering early.
- The optimum temperature and RH for vegetative growth of cannabis is 68-86 F and 40-70%.
Stage 3 – Flowering
The penultimate of the steps to growing cannabis is arguably the most exciting and fascinating – the flowering stage!
This is where you will see the vegetative growth slow down and finally stop, and the growth of beautiful, pistil-fringed flowers.
In the first two weeks or so of flowering (and this depends heavily on variety!) your plants will continue to grow vegetatively – this phenomenon is often called “stretching”.
This why it’s important to limit the size of the plant – many indoor growers have let their plants veg for a little too long, only to find that they reach gigantic, unmanageable proportions when they’re done stretching.
What Happens During Flower Growth?
- To flower most cannabis strains, all you need to do is switch the light cycle from 18 to 12 hours per day.
- By around week 2 after switching light cycle, stretching should slow or stop.
- Small, sparse flower calyxes and limited crystal will be present at this point.
- By weeks 4 or 5, flowers should already be starting to plump up and form dense clusters.
- Structure, density and other characteristics of your flowers depend heavily on the variety.
- The generally-accepted optimum temperature and RH for flowering cannabis is around 68-82 F and 40-60% RH.
Environmental Factors To Consider
As well as variety, environmental factors are hugely important in determining how you plants will grow.
On top of this, different strains may respond very differently to different variables.
Some may hate excessive humidity, while others may not be able to tolerate excess heat.
- If temperatures are too cold, flowers could be smaller than average.
- Too hot, and they may grow very large flowers but be low in trichomes, and/or experience heat stress.
- Too humid, and they may form mold.
- Too dry, and again, you may limit flower size.
- However, you may significantly boost terpene levels if you keep RH below 40% during the final two weeks of flower.
Stage 4 – Maturity
The final stage of growing cannabis is maturity.
At this stage, the leaves will start to yellow and die off, and the rate of bud growth will slow right down.
By now, most of the pistils that fringe your flowers should have turned brown, pink, orange, or similar – although some varieties stay relatively white.
If you use a magnifying glass or loupe at this stage, you should be able to see the trichomes (the resinous, mushroom-head stalks that cover the leaves and buds, and that contain the cannabinoids and terpenes).
Before your plants reach maturity, the trichomes are translucent and clear.
When your plants are mature, these trichomes should mostly have changed to a milky-white color. Some trichomes may even have changed to amber.
A good rule of thumb is more than 50% milky white, and no more than 10% amber.
Amber signifies that THC is starting to degrade to CBN!
When your plants are definitely ready, it’s time to cut, dry and cure them. We’ll talk more about that in future articles – for now, we hope you have enjoyed our guide to the stages of growing cannabis!