More and more people are making the transition to organic cultivation, and understandably so. Cannabis consumers are becoming more mindful of what they put into their bodies, and the use of organic cultivation methods are becoming much more common as a result.
For many years, the growers I know used hydroponic cultivation methods, relying on heavy metal fertilizers to feed their plants. Even soil growers I knew in decades past used heavy metal fertilizers.
Right now the cannabis industry doesn’t regulate heavy metals, even though the tobacco industry does. It’s something that isn’t on a lot of people’s radars right now, but it should be. I’m by no means a doctor, but I have to assume that smoking cannabis riddled with heavy metals can’t be a good thing.
I don’t personally want to consume cannabis that has been grown with synthetic inputs. Based on conversations I’ve had with dispensary owners lately, who have seen a surge in demand for organic cannabis, it appears that I’m not alone.
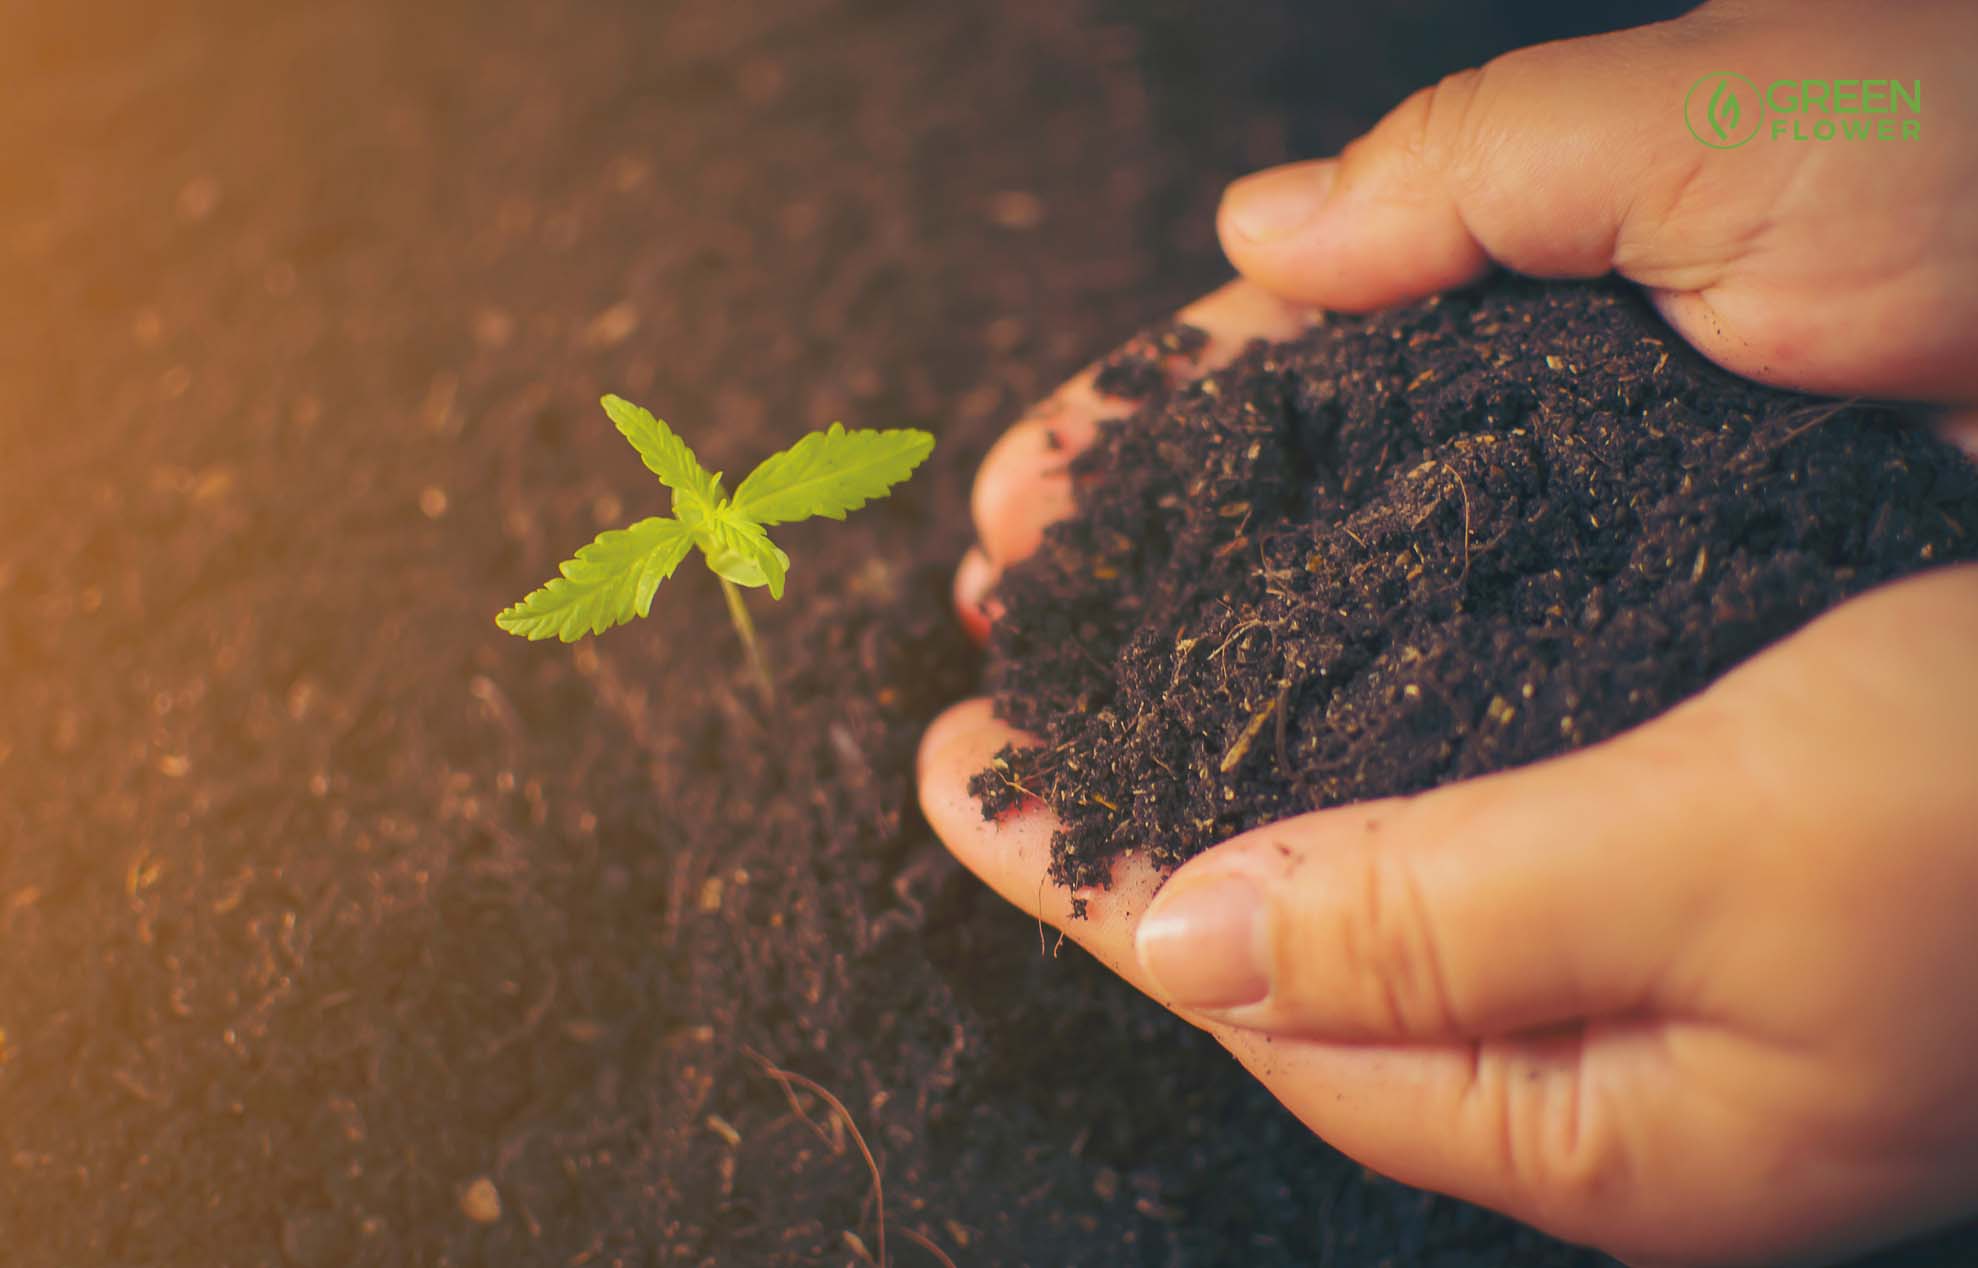
When growing organic cannabis, so much of the ‘recipe’ revolves around the soil. There are other factors such as quality lighting, air, water, and the addition of compost tea, but getting the soil right is absolutely vital. An organic cannabis plant is only as good as the soil it is grown in.
Making ‘super soil’
I recently made some ‘super soil,’ which is a soil recipe made popular by legendary grower Subcool. I knew when I started my garden, ‘No Consideration Farms,’ that I wanted to go with an organic soil recipe, and there’s no other recipe out there that is as reputable as Subcool’s recipe.
A super soil mix is much more than just going to the local garden store and buying an organic blend. That’s just the start of the process. You choose a base soil to go with, and then add all kinds of goodies to the mix in an effort to create an ecosystem of sorts which facilitates the growth of microorganisms and bacteria.
There are numerous ingredients/inputs involved with making super soil. Below is a list of inputs that Subcool recommends:
14 cubic ft- SOIL (9- 1.5 cubic feet bags)
(Roots, Down to Earth- Pro Organics, any high quality local potting soil)
25-50 lbs- WORM CASTINGS
5 lbs- BLOOD MEAL (12-0-0)
5 lbs- BAT GUANO(0-4-0)
2.5 lbs- BONE MEAL (3-15-0)
2.5 lbs- FISH BONE MEAL
3 cups- OYSTER SHELL
3 cups- KELP MEAL
2 cups- AZOMITE
1 cup- DOLOMITE
3/4 cup- EPSOM SALT
2 Tbsp- MYCORHIZAE
This may look like a daunting list, but my local indoor garden store had all but two items, which another garden store just a short drive away had in stock. Compiling all of the items took a couple hours, and ended up costing around $300.
The price tag may sound steep for soil, but keep in mind that with the exception of compost tea, there will be no need to add anything else to the soil once it’s in use. Anyone who has grown before and purchased Bud Blaster and other nutrients knows that a $300 price tag for pretty much all the nutrients a plant needs is more than fair.
When I was at the indoor garden center, and the employee understood what type of soil recipe I was trying out, he recommended adding a few compost mixes to the blend.
He pointed out that compost helps ‘feed the soil ecosystem’ so to speak, and if I was already going that far with the process, I should strongly consider adding fish compost along with a couple other types of composts, which I decided to do.
Getting your hands dirty and mixing it all up
After all of the inputs were rounded up, it was time to mix them altogether. There are a lot of ingredients, and mixing it all together requires a good amount of space to perform the task.
I used a ‘kiddie pool’ that I had lying around which worked well, although I had to mix it all in two batches. I have seen a lot of people mix the soil on a tarp, which provides much more space. That’s one change I plan on making the second time around.
When mixing everything together, you want to make sure that there are no clumps, and everything is thoroughly mixed. It took the better part of an hour to mix it altogether, and I was fortunate to have help from my wife, sister in law, and family friend Susan (thanks again gals!).
Once everything was mixed up, I put all of the soil in garbage cans. Subcool says it will fill three garbage cans, but my mixture filled up 5 32 gallon garbage cans. The base soil I chose was very fluffy, so that could explain the need for more garbage cans.
Subcool says that ideally, you want the mixture to stay out of direct sun light and be stored at 78 degrees, but that temperature fluctuations are OK as long as the storage bins aren’t in direct sun light.
From there you add enough water to make sure the soil is nice and moist, but isn’t saturated with water. Be aware that most city water contains chlorine, so use river water or rain water for your plants.
If you have to use city water, put it in a bucket first with a pump and some air stones and let it bubble for a day or two. The bubbling action will get rid of the chlorine, making the water suitable for use. If you use city water with chlorine in it, it will prevent the bacteria, enzymes, and other microorganisms from growing.
After adding water, the only thing left is to let the soil sit for 6-12 weeks so the microorganisms and bacteria can grow and spread.
What do the ingredients in super soil do?
There’s a lot of literature out there on what to put into your soil, but there doesn’t appear to be a lot of information as to why those inputs are used.
The base soil itself is straight forward, as it’s the dirt mixture that the plant is going to use. But what about all the other stuff that is added? What do those things do?
I researched each input, and when you know what each one does, it makes a lot more sense as to why it’s used.
Here’s what I discovered:
The worm castings contain a highly active biological mixture of bacteria, enzymes, plant matter, animal manure, and earthworm cocoons that help feed the ecosystem. Compost serves a similar purpose.
Blood meal provides nitrogen to the soil. Bat guano is also high in nitrogen, but releases the nitrogen into the soil slower.
The way it was described to me at the indoor garden store is that the blood meal releases faster, and once it is tapering off, that’s about the time the bat guano steps up and fills the void, so to speak.
Bone meal provides phosphorus and protein. Fish bone meal also provides phosphorus, but also calcium, and a little nitrogen.
Crushed oyster shells provides calcium and trace minerals to the soil, and helps prevent cannabis plants that are in containers from being ‘water logged.’
Kelp meal provides a good amount of potassium and up to 70 other vitamins and minerals that your plants need.
Azomite provides trace minerals to the plant that stimulate plant growth by being a catalyst to help plants absorb nutrients better. The indoor garden employee called azomite ‘the teeth’ of the soil.
Dolomite is used to help the soil’s PH match that of what the plant needs. A lot of people refer to it as limestone, but dolomite provides much more to the soil than straight limestone.
Epsom salt helps strengthen cell walls within the plant, and also helps increase the uptake of nutrients by the plant, similar to what azomite does.
Finally, Mycorhizae helps the roots of the plant grow in the soil better. It literally attaches to the plants roots, forms filaments, and helps the roots push farther into the soil.
***
The inputs listed above are what I put into my soil. But as with everything related to cannabis cultivation, there are many ways to go about things. If there’s something I missed, or something you feel shouldn’t be added, by all means let us know in the comments so others can benefit from your knowledge (myself included!).
The list of inputs may look daunting, and mixing it all up may sound labor intensive, but I assure you it’s much easier than it sounds to get a mixture whipped up and put into bins. The hardest part is waiting for it to be ready for use (6-12 weeks), especially if you are impatient. But I promise you, it will be worth it!